
In this article, you will learn, how we can construct a basic 3D Model using Paint 3D app and then use it as a Holograms for your holographic application. This is a state forward process, but the creativity is in designing the 3D model. We will learn it through three different steps. To start with, construct the 3D Model in Paint 3D, import the model into Unity 3D and finally publish your Unity 3D project as Holographic application.
If you are new into holographic app development with HoloLens, you can start looking at my series of post – Holographic App Development Using Microsoft HoloLens
Paint 3D App for Windows 10 makes constructing 3D models very easy. You can use this tool to construct a 3D model along with putting different models for a complete 3D scene. This tool is very easy to use and with basic skills of drawing, you can construct different 3D models very easily. Check out the following quick introductory video.
Download Paint 3D App : https://www.microsoft.com/en-us/store/p/paint-3d/9nblggh5fv99 and read more about this app here
Construct the 3D model using Paint 3D
For this post, we will create a simple 3D tree. To begin with,
- launch the Paint 3D App.
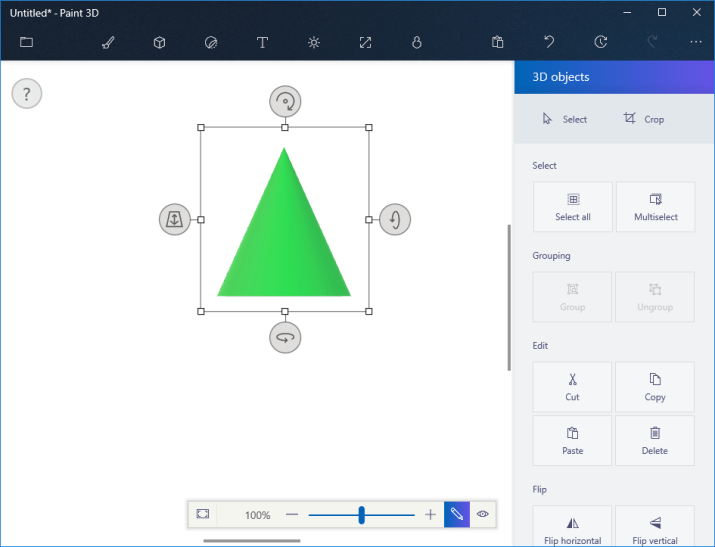
- Select the 3D Objects icon from main menu
- then select a Cone object from the side bar
Once the Cone is placed in the scene, position it rightly on center, then place one cylinder object as root of the tree.
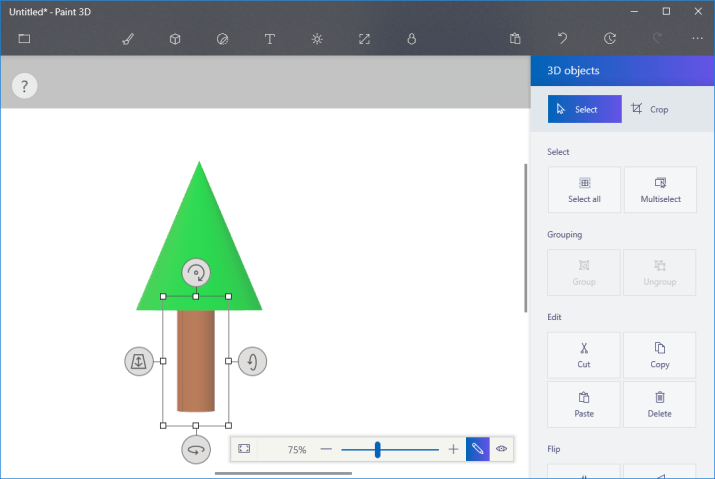
Once both the objects are in placed, you can align and position them properly with the associated repositioning toolbar attached with each object

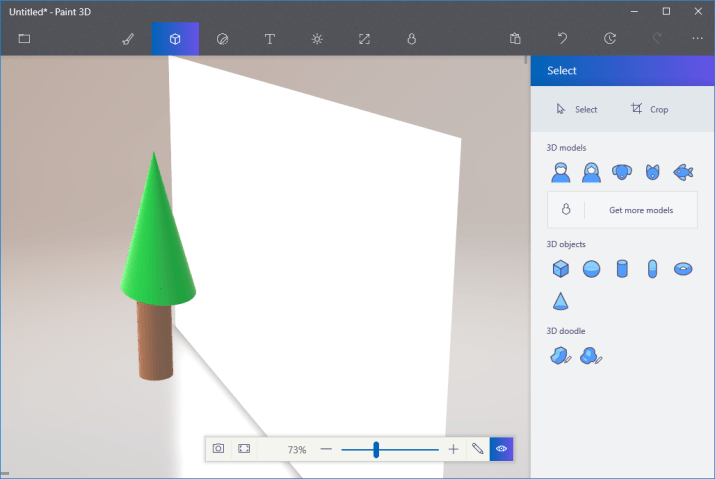
After all these done, you can take a preview of the 3D model, by selection the “eye” icon – “View in 3D” to verify if your 3D model looks fine to take it forward.
Finally, Save the 3D Model, and most importantly, export the object in FBX format.
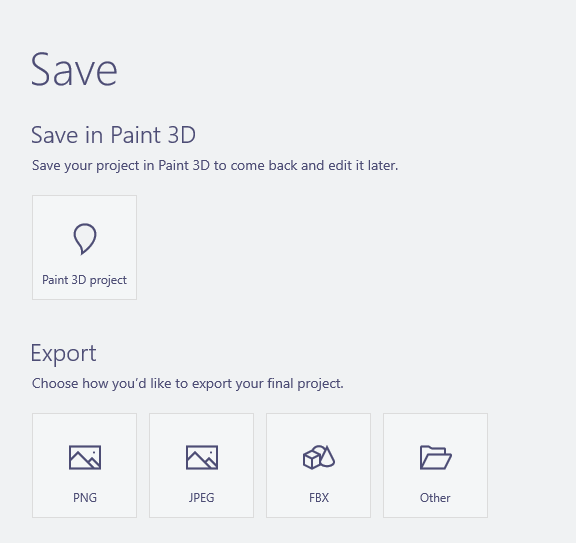
That’s it. We are done from here.
My HoloLens Book : HoloLens Blueprints
Unity3D and Import the 3D Tree Model
In this section, we are not going to discuss about the details on how to create an Unity 3D App, or how to run a holographic app. In case you are new to holographic app development, you may refer to my series of post on Holographic app development here.
Must Read: Developing Holographic Apps with Unity 3D and Microsoft HoloLens
Let’s quickly discuss about the steps here:
- Start a new instance of Unity and create a new project named “3DHologrpahicTree” and make sure you are selecting the 3D option.
- Under Project Explorer, right click on Assets -> Import New Asset

- Select the 3DTree FBX model which was created from Paint 3D App.
- Once the model is imported, drag and drop it into Scene View, and here is how it looks like.
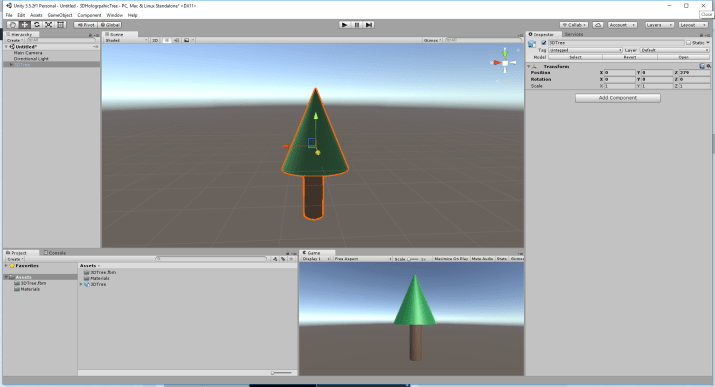
Note: When we import the FBX , it also imports all the associated assets like materials, texture along with all other object. You can explore the same in the project explorer window. With that, if you want to reapply any changes, like colors, texture or materials you are free to do that here as well.
Finally save the scene and named it as “treescene”
Tip : Unity 3D – How to rotate an object around and also along with a specific point ?
Making your App ready for Visual Studio and HoloLens
Setting up the Scene
The Main Camera is the point of view so you need to ensure it is always directional for your view object.
- Select the “Main Camera” in Hierarchy, and in the Inspector view, Set the transformation position to zero (X = 0, Y==0, Z=0 ) .
- Set the clear flag to “Solid Color” and set the background to [ARGB = 0,0,0,0]
Building the Holographic App in Unity
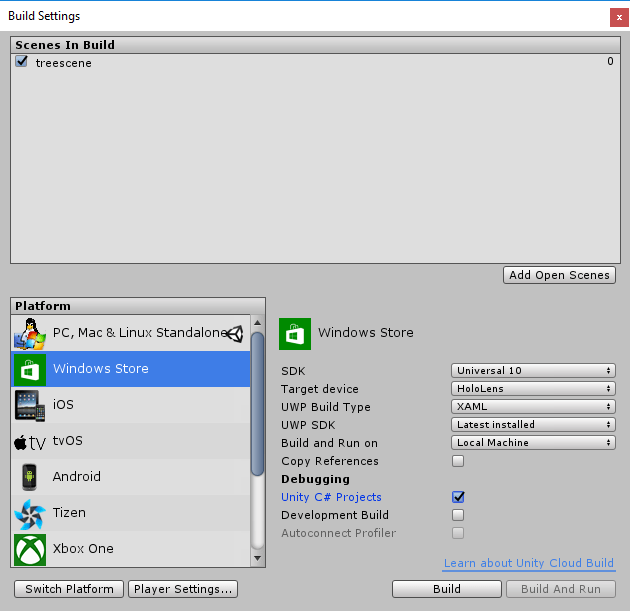
From the main menu, navigate to File –> Build Settings and perform the following.
- Choose the Platform as – Windows Store
- Click on “Add Open Scenes”’ and Select “treescene” Scene
- Choose SDK to “’Universal 10”
- Targeted Device to “HoloLens”
- Choose UWP Build Type to D3D
- Select Unity C# Project Check box on.
Finally navigate , Player Settings -> Other Settings and enable Virtual Reality Supported
Once done, click on Build button and select a folder (Create it for first time) where you want to keep your app code. Once Selection done, Unity will start building the solution and will create necessary files and Visual Studio Solution. Once Unity done with it’s job, you will have the code folder open in front of you with all necessary files.
Run the Solution in Visual Studio
Open the solution in Visual Studio. To run the application, choose following option
- Mode – Release
- Platform – x86
- HoloLens Emulator

Run the Application !! Wait for a while to start the emulator!! And You are done !!
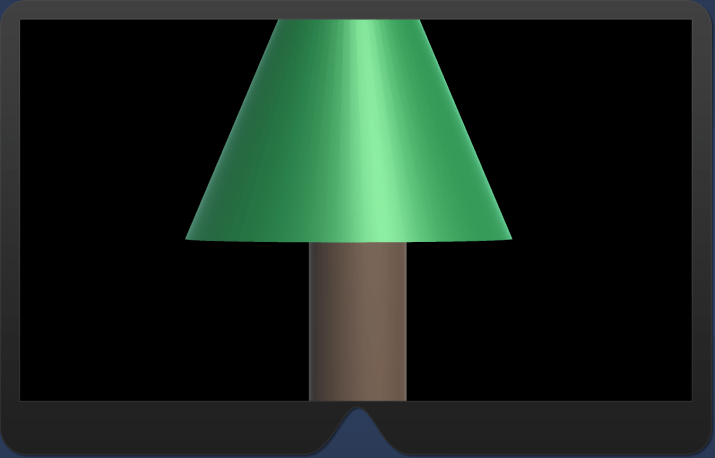
You have your holographic application running with the 3d model created in Paint3D. Deploy this app to HoloLens device take an immersive 3D experience with this object.
That’s all from here ! To summarize, In this article, we created a 3d model using Paint 3D app and using the 3D model as hologram in your holographic application.
Hope this helps !
Cheers,
Abhijit


step by step info
LikeLike