
Azure DevOps has everything you need to build your software product from envisioning to put in into end-users’ hands. The Azure-hosted DevOps services can enable your end to end product delivery with excellent traceability across the teams. Azure DevOps provides you the ability to plan your project using agile tools, manage your source code using several code repositories. It automates your build and release using a highly scalable build and release pipeline. Azure DevOps also, manage your test plan and automate your test case execution. All in all, an end to end traceability dashboard for Business users, developers, and other project team members.
In this article, we will explore how we can leverage Azure DevOps that enable development, build and deploy the solution in both Azure Services and AWS using unified CI & CD Pipeline
The Core – CI & CD
Continuous Integration (CI) & Continuous Delivery (CD) capabilities allow us to establish an end-to-end delivery platform that enables rapid development & deployment and Operations (DevOps) of software system repeatedly with minimal manual work.

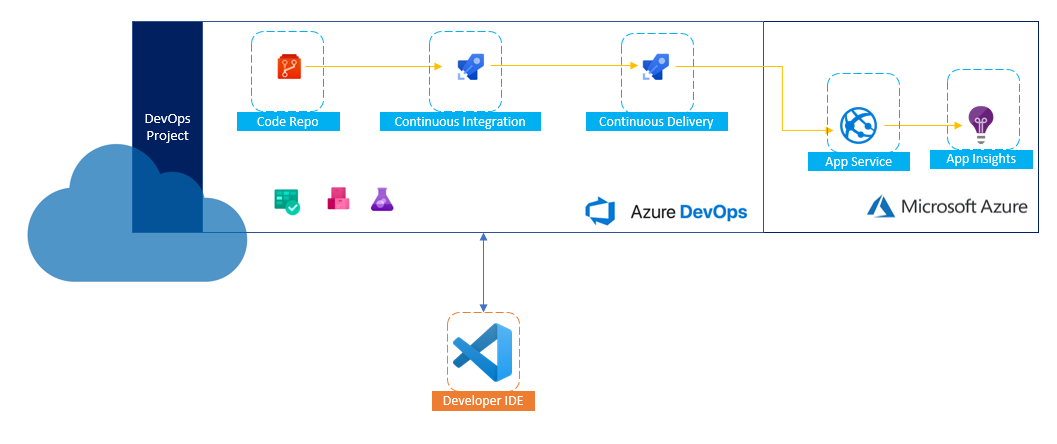
The above diagrams show a typical cycle for Continuous Integration (CI) & Continuous Delivery (CD) using Azure DevOps. With different tools, where the developer writes code in Visual Studio, or Visual Studio Code or any other IDE, push it into source code repository such as TFVC, Subversion, or Git, Azure DevOps Pipeline trigger the builds and deploy to Azure App services or similar Azure Resources.
Multicloud Approch and DevOps
When we think about enterprise solution at scale; we consider our platform to run across multiple cloud computing services. Be it with Microsoft Azure, Amazon AWS or Google Cloud, or even on your private cloud platform. While our code, build and integration straegies has to be the in placed for DevOps we need to have same multicloud deployment straegies in place.

Before we get into details of implementation and if you are new with Azure DevOps; I will recommend to read few of my existing articles – Azure DevOps in the Era of Digital Transformatio and DevOps for Bots – Rapid Development, Continuous Integration and Delivery (CI/CD) with Azure Bot Service & Visual Studio Team Services (VSTS). I have also shared several Tips and Trick on Azure DevOps at Daily .NET Tips
Let’s get into the implementation.
Azure DevOps Project – Speedup your DevOps setup
Azure DevOps Project makes it very easy to get started on Setting up code repo, build, and deployment with Azure. Just by using a few quick steps, DevOps Project sets you up to everything you need for developing, deploying, and monitoring your app on Azure.
We can create the code repo, build and release pipeline one by one manually in Azure DevOps, but Azure DevOps Project makes it fast and under a few clicks.
When we create a DevOps Project in Azure, it provisions all required Azure resources, set up Git code repository with the sample template, configure and set up a continuous delivery pipeline to deploy the services. It also allows you to monitor all your project-related information, including code commits, build, deployments from an integrated dashboard.
Let’s have quick look on DevOps Project for a new ASP.NET Core Application.
DevOps Project for .NET Core
From the Azure Portal, Select “Create a resource” -> “DevOps Project” and then select “Create” and follow the steps to choose the Runtime, Framework, Services and Azure Resources.
To Start with; at first step choose the .NET as Runtime for the project.

In the second steps, choose the ASP .NET Core as Application Framework

Once we choose the Runtime and Framework for the application; Provide the Azure Services, where we want to deploy. In this case; let’s choose to deploy it on a Azure App Service.

Once the Azure Services selection is done, provide the project name, choose Azure subscription and pricing tier and create the new DevOps Project.

Click on “Done”
That’s it. It will start processing provisioning the code repository in Git, setting up build definition, release definition and everything that you need to end to end delivery.
Monitoring using DevOps Project Dashboard:
After the setup is complete, navigate to the DevOps Project Dashboard. From the dashboard, you can monitor your code repository, CI/CD pipeline, AppInsights telemetry, and app services states. The dashboard has several menu options included – Project Home Page, Repository, Build Pipeline, Release Pipeline, etc.

You can click on them to deep dive into specific resources, or you can click on specific resources section, for an instance, if you select the Code under repository, it will take you GIT Code repository .
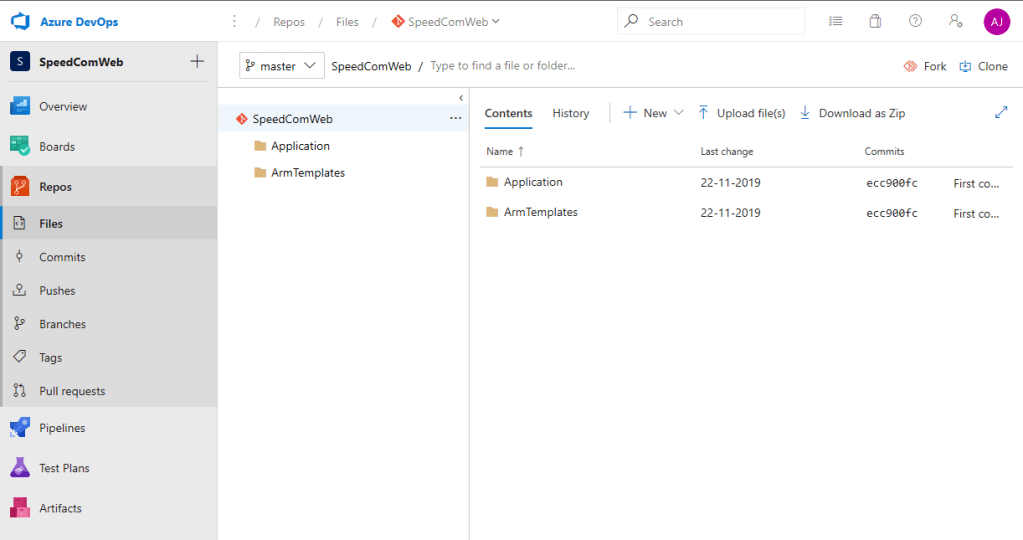
You can further take this code mapped with a local git repository and use any of your favorite IDE, such as Visual Studio Code, Visual Studio, for further development.
Inside CI & CD Pipeline
Azure DevOps Project creates entier CI and CD setup behind the scene. You can navigate to the Pipeline section to review the Build and release pipeline.
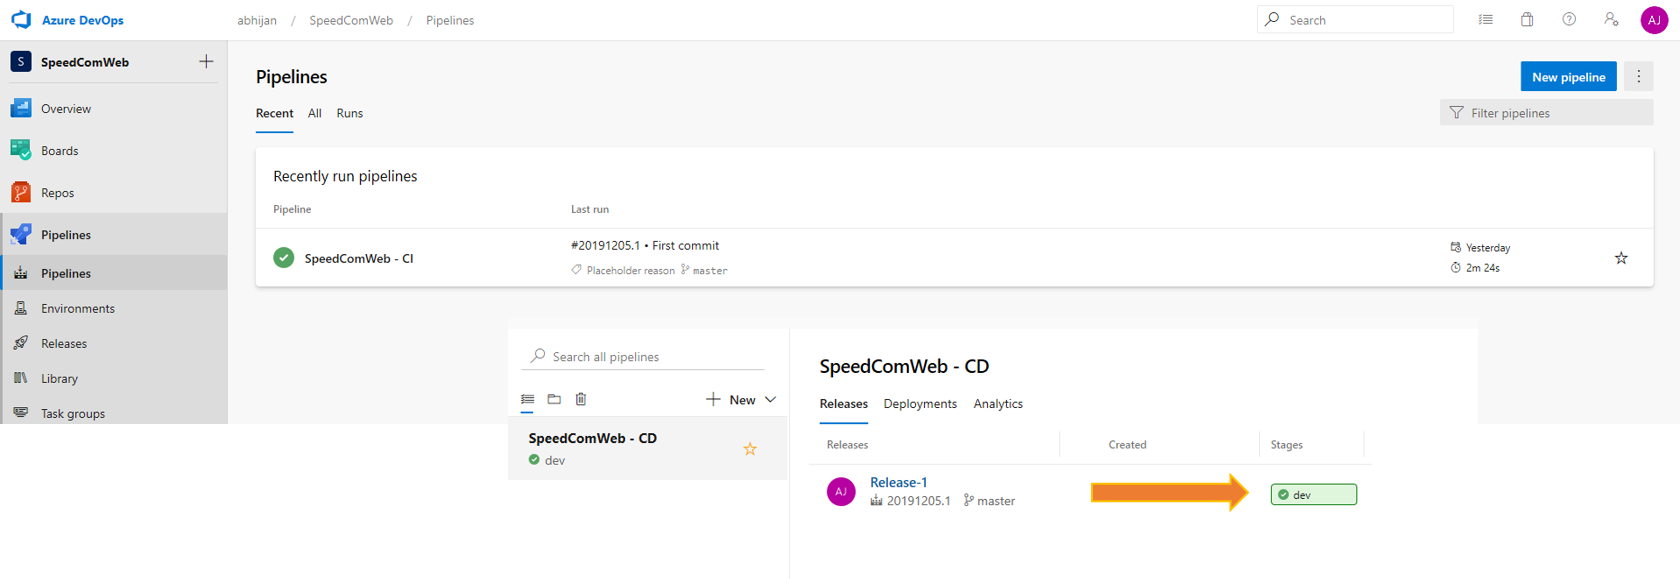
If we take a more in-depth look inside the Build and release pipeline, you will find one Stage “Dev” has been created, and during the deployment, it takes out the build references from CI drop points and deploys it into Azure App Service.

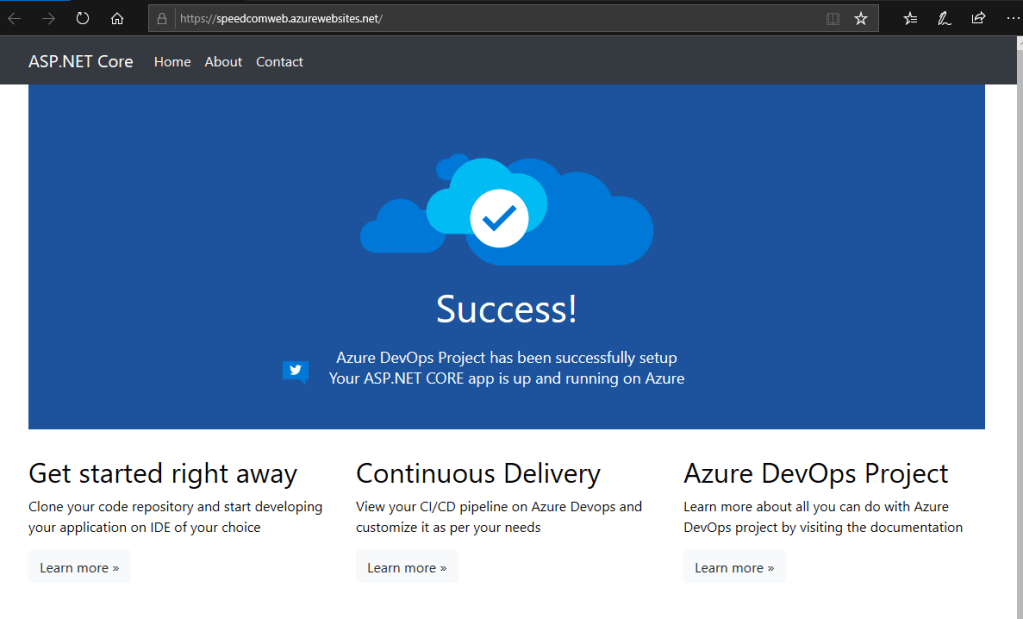
From the Azure Portal, you can take a look inside your Azure App Service, and interestingly, everything of these has been set up, configured, and deployed automatically.

Hit on the application end-point to see your ASP.NET Core application is running.
Quick Recap
Let’s take a pause and quickly recap what we have done so far before we move forward to the next step. We have leveraged Azure DevOps Project to setup DevOps for a new project. The DevOps Projects automatically provide all the resources required included code repository to build and release pipeline. As a developer, you can now take this code into the local system and start continuing further development.
Azure DevOps and Amazon AWS
In this section, we will extend the Azure DevOps Connectivity with Amazon AWS and will deploy the same version of the application to both Azure and AWS Elastic Beanstalk.

During this exercise, we will perform the following action:
- Create Elastic Beanstalk Application and Environment in AWS
- Connect Azure DevOps with AWS
- Using AWS Tools for Azure DevOps
- Update Azure DevOps Pipeline for AWS
Create Elastic Beanstalk Application and Environment in AWS
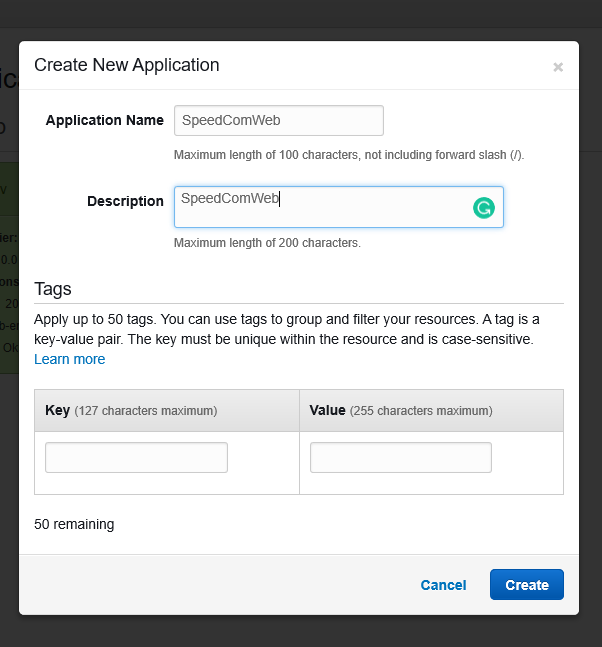
AWS Elastic Beanstalk is an easy-to-use service for deploying and scaling web applications and services developed using several languages like Java, .NET, PHP, Node.js, Python, etc. Login to your AWS Console, and Create one Elastic Beanstalk Application first.
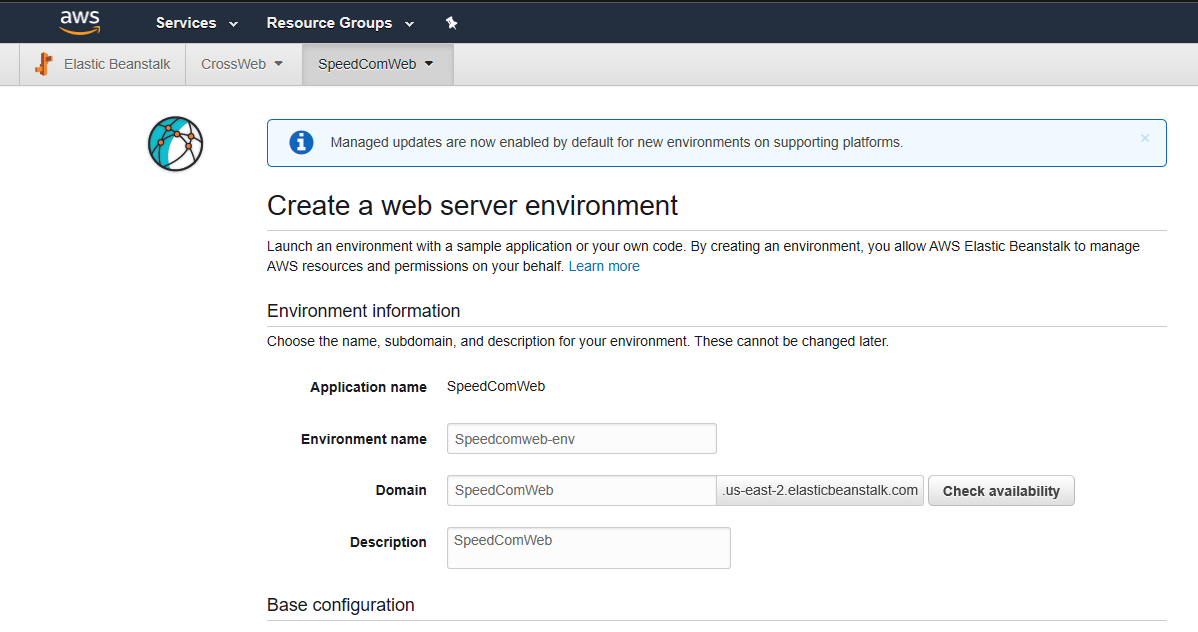
Once the application is ready, you need to create an environment to host the application. Create one Web Server environment account for the newly created app and set a sample application to run.
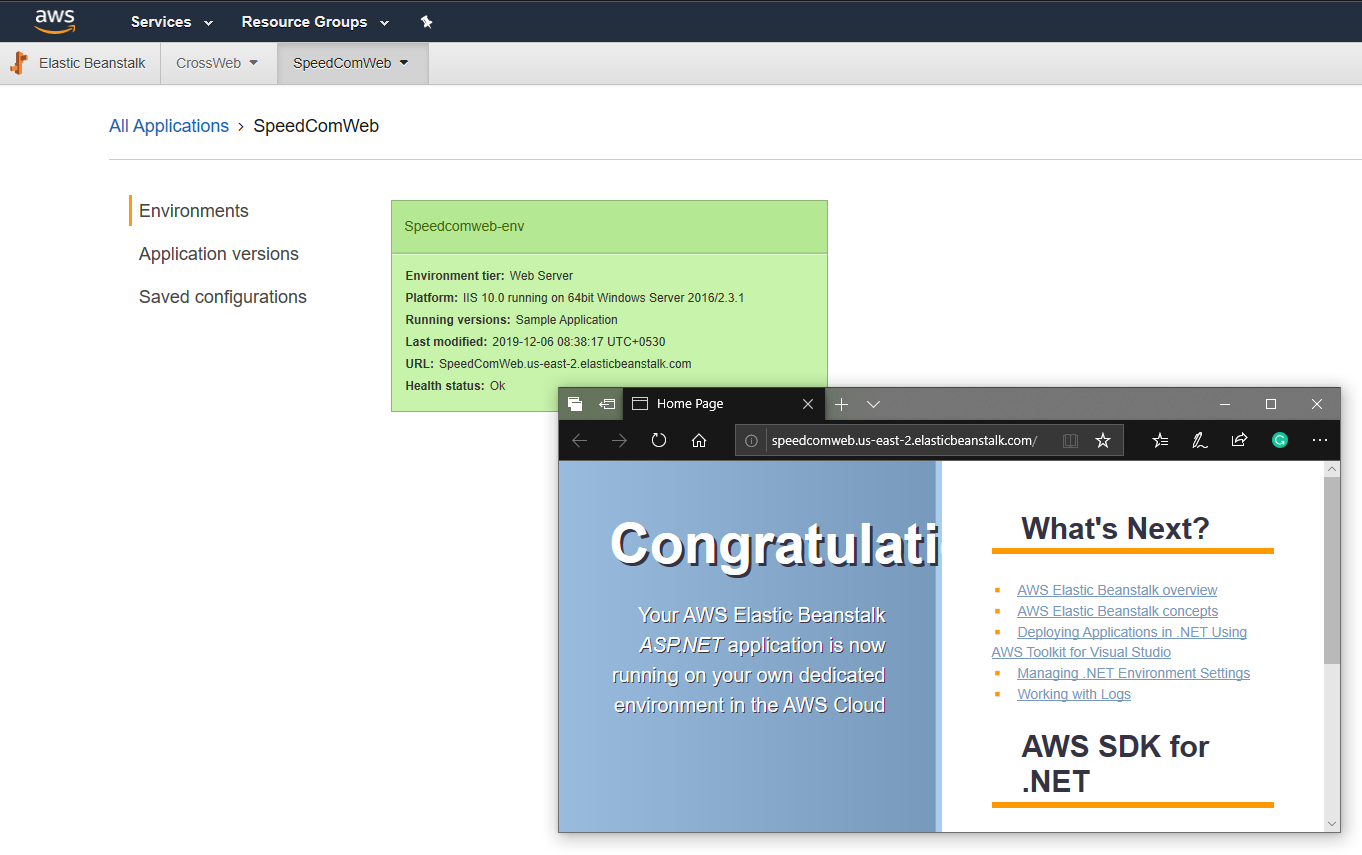
Once the environment is created, you should be able to review the status environment and should be able to navigate to the domain URL.
With this, we are done with the setup of our environments in AWS. In the next step, we will connect the AWS and Azure DevOps with a Service Connection.
Connecting AWS with Azure DevOps
Connecting AWS with Azure DevOps can be enabled using Azure DevOps Service Connection. We use Service Connections to connect with any external and remote services with Azure DevOps or related resources. For instance, to connect with Azure Subscription or connecting with different CI/CD Services you need a service connection. Similarly, To leverage AWS resources from Azure DevOps; we need to establish a Service Connection.
Creating service connecting between AWS and Azure DevOps is a two steps activity. First, get the Access Keys from your AWS Account and then Create the service connection in Azure DevOps.
Get Access Access keys from AWS
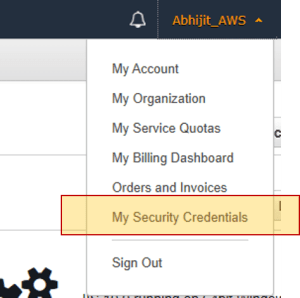
Log in to your AWS Account, from the Profile menu select “My Security Credentials“.
Once you landed on security credentials keys, Move to the “Access Keys” section. You can use your existing keys if downloaded or generate keys by clicking “Create New Access Key“. Note both the Access Key ID and Secret Access Key.

Create a service connection in Azure DevOps
Go to the Project Settings Page in Azure DevOps, and Under the Pipeline section, you will find “Service Connections“. Select it to create “New Service Connection“.

Choose AWS from the list of Connection Type and Click on Next. In the “New AWS Service Connection” window provide the “Access Key ID” and “Secret Access Key” , and save it with a connection Name.

Once the Service Connection is created you establish connections with your AWS Resources from Azure DevOps.
Using AWS Tools for Azure DevOps
Before we start changing on the Pipeline, we need to install AWS Tools for Azure DevOps. This tool adds tasks to enables build and release pipelines in Azure DevOps to work with AWS services, including AWS Elastic Beanstalk, Amazon S3, AWS CodeDeploy, AWS Lambda, etc.
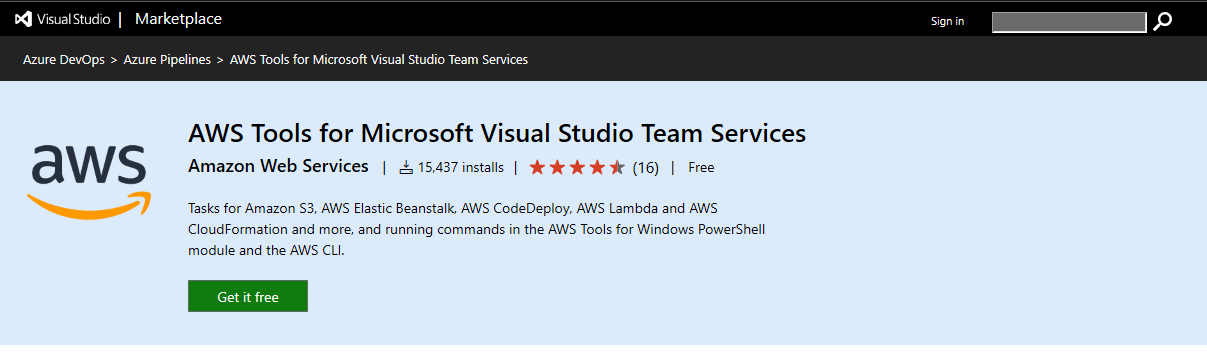
Once this is installed into your Azure DevOps Org; we are good to move forward and start configuring Azure DevOps Pipeline.
Update Azure DevOps Pipeline for AWS
We will deploy the same set of the version to both Azure and AWS; hence, there will be no changes in the Build Pipeline. Move to the “Release” pipeline section and edit the existing pipeline.
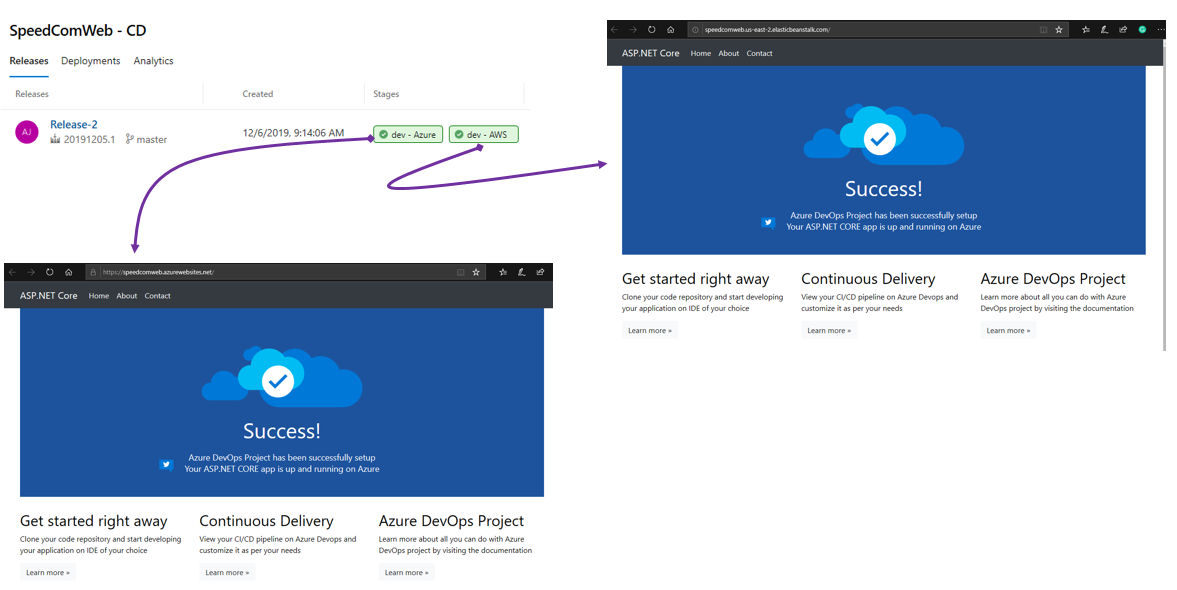
Renamed the first stage to “dev – Azure” and close the same stage and named it as “dev – AWS“.
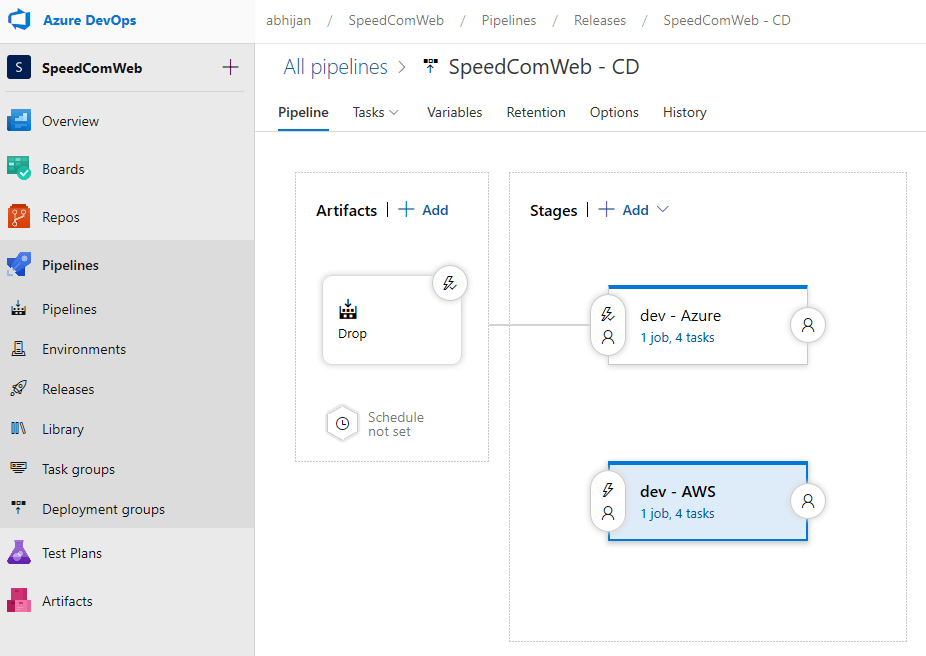
Get inside the dev – AWS stage and delete all the existing tasks. ( Here you can create a new stage as well instead clone the existing stage) . Once existing tasks are deleted from the stages – Add the “Deploy to Elastic Beanstalk” task from the list of tasks.
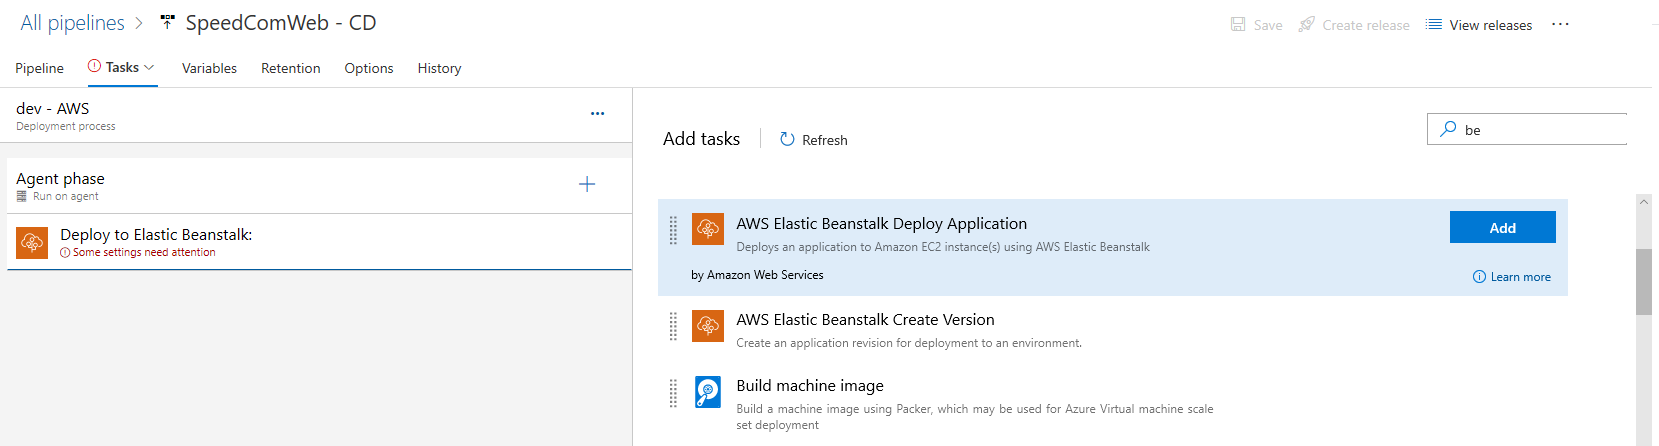
You will only see this after installing the AWS Tools that I have mentioned in the previous steps. Once Task is added, click on the task settings and provide all the required details.

In this section, you need to provide the AWSConnection as AWS Credentials, which was created part of Service Connection. Other than that, you need to provide an application name, environment name, and version for the application. Once done, “Save” the stage and Tigger a Release.
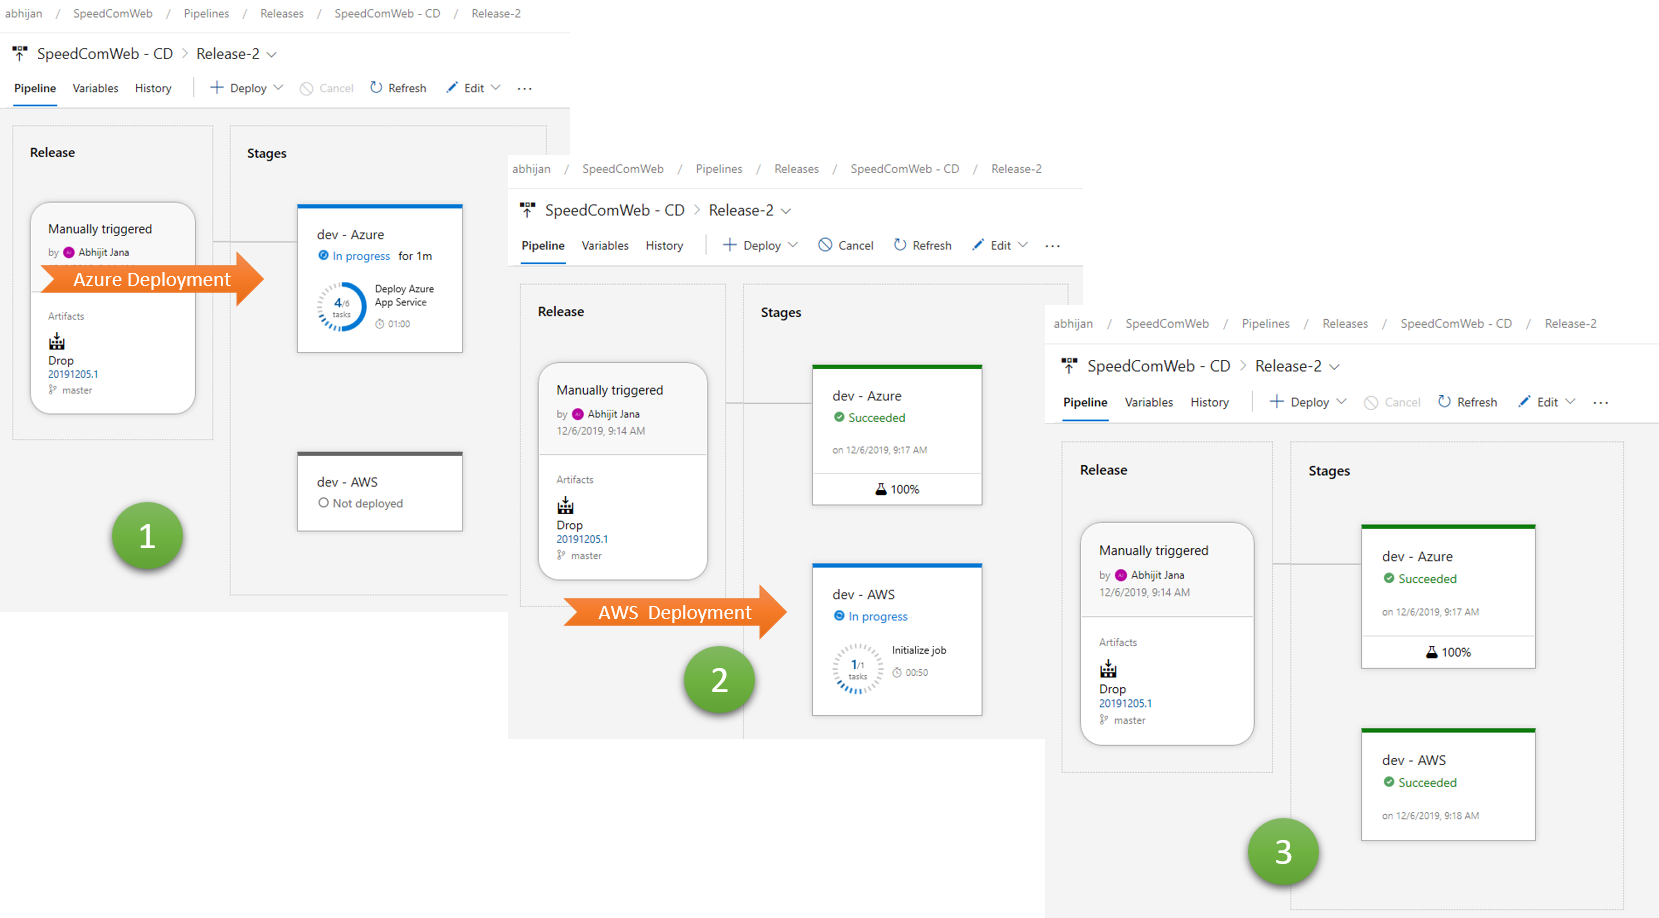
“dev – Azure” release will trigger when we create a release, and then we need to trigger the release for “dev- AWS“. Or can trigger them simultaneously as well. We can create the workflow for approval here, and they will remain the same. Once the deployment is successful, you can navigate to AWS domain URL to check the same version of a web application running on AWS Cloud and Azure.
That’s it. You have a continuous build and release pipeline setup that can deploy the same solution in two different environments simultaneously. That’s what’s the power of Azure DevOps and how it enables faster deployment for your multi-cloud solution.
Hope this helps !
Cheers!
Abhijit


Hi Abhjut,
Do you have blog for AzureDevops pipeline to deploy to AWS Fargate.
LikeLike